- Published on
How to Stream to TikTok Using OBS: Complete Setup Guide (2025)
- Authors

- Name
- Robin
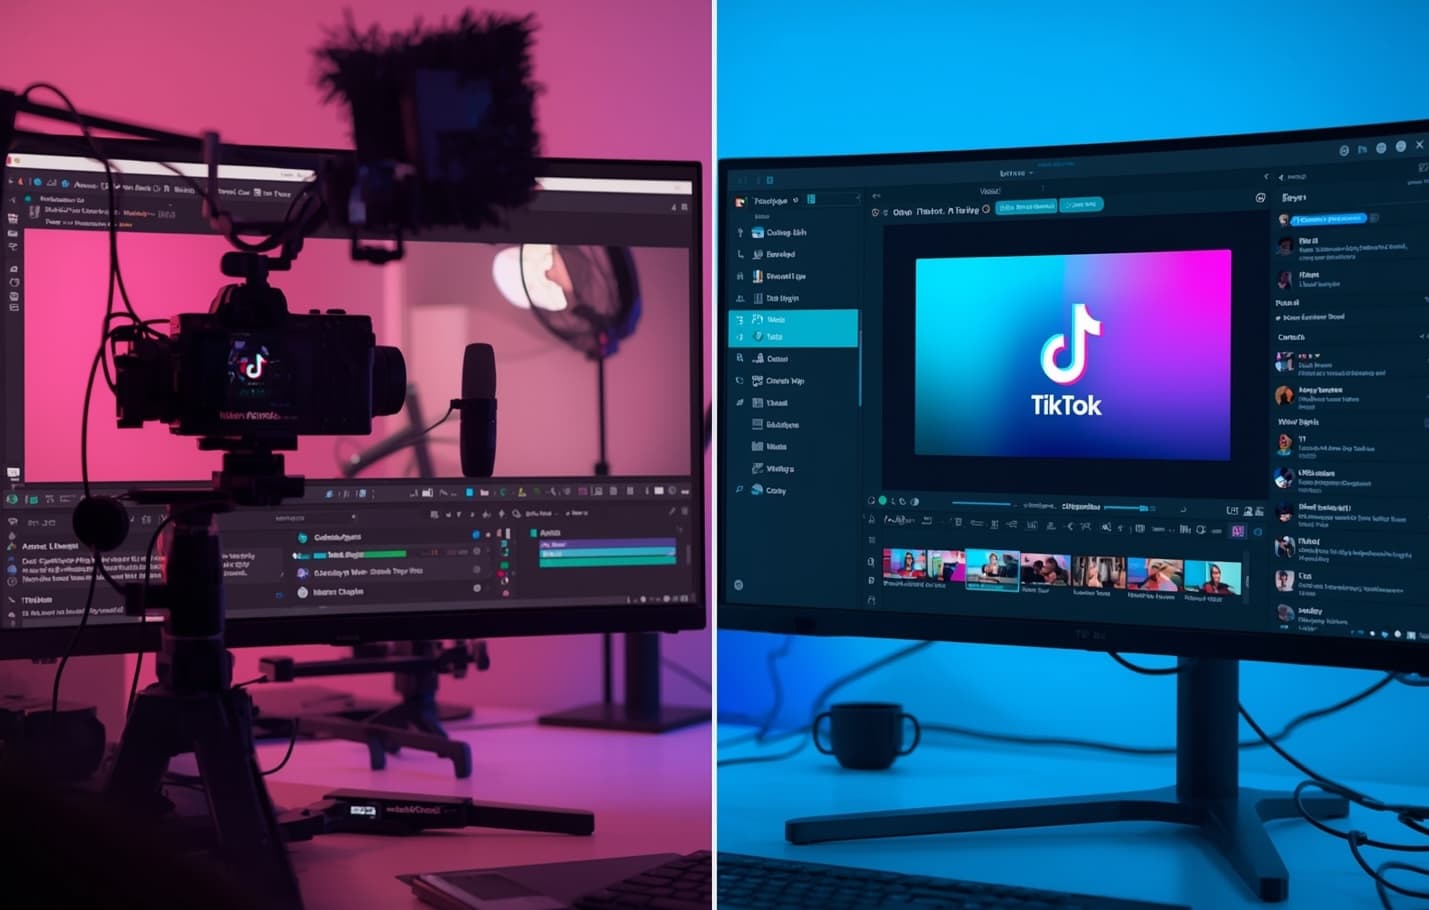 Take your TikTok Live streams to the next level with OBS Studio - the industry standard for professional streaming.
OBS vs TikTok Live Studio: Understanding Your Options
Before diving into OBS setup, let's clarify the difference between OBS Studio and TikTok Live Studio:
TikTok Live Studio (Official TikTok Tool)
- What it is: TikTok's official desktop streaming application
- Best for: Beginners, simple streams, quick setup
- Features: Built-in effects, TikTok-native tools, easy integration
- Limitations: Basic customization, limited multi-source options
OBS Studio (Third-Party Professional Tool)
- What it is: Industry-standard streaming software used by professionals
- Best for: Advanced streamers, complex setups, professional quality
- Features: Unlimited customization, multi-source streaming, advanced encoding
- Advantages: Better performance, more control, professional features
Which Should You Choose?
| Use Case | Recommended Tool |
|---|---|
| First-time streamer | TikTok Live Studio |
| Simple camera streams | TikTok Live Studio |
| Professional streaming | OBS Studio |
| Multi-source content | OBS Studio |
| Custom overlays/graphics | OBS Studio |
| Screen sharing + camera | OBS Studio |
This guide focuses on OBS Studio because it offers professional-grade features that TikTok Live Studio doesn't provide.
Why Use OBS for TikTok Live?
While TikTok's built-in live features are great for beginners, OBS Studio opens up a world of professional streaming possibilities:
- Multi-Source Streaming: Combine camera, screen capture, overlays, and more
- Professional Quality: Better video encoding and customization options
- Advanced Scenes: Create complex layouts with multiple elements
- Stream Recording: Save high-quality recordings of your live sessions
- Custom Overlays: Add branded graphics, alerts, and interactive elements
- Better Performance: More stable streaming with fewer drops
"Streamers using OBS report 40% fewer technical issues and 3x better viewer retention" — TikTok Creator Analytics 2025
Prerequisites
Before we dive into the setup, ensure you have:
| Requirement | Details |
|---|---|
| TikTok Account | 1,000+ followers (required for live access) |
| OBS Studio | Latest version (download from obsproject.com) |
| Computer Specs | Minimum 8GB RAM, decent CPU (Intel i5/AMD Ryzen 5+) |
| Internet | Stable 10+ Mbps upload speed |
| TikTok Live Studio | Desktop access (for stream key) |
Note: You'll still need TikTok Live Studio to generate your stream key, but you'll be using OBS Studio for the actual streaming. Think of TikTok Live Studio as the "key generator" and OBS as the "streaming engine."
Step 1: Download and Install OBS Studio
Download OBS Studio
- Visit the Official Site: Go to obsproject.com
- Choose Your OS: Download the version for your operating system
- Windows: Download the installer (.exe file)
- Mac: Download the .dmg file
- Linux: Use your package manager or download the AppImage
- Install OBS: Run the installer and follow the setup wizard
First Launch Setup
When you first open OBS, you'll see the Auto-Configuration Wizard:
- Select "Optimize for streaming"
- Choose your primary use case: "I will only be recording" or "I will be streaming"
- Let OBS test your hardware and apply optimal settings
- Click "Apply Settings" to finish the initial setup
Step 2: Get Your TikTok Stream Key
Access TikTok Live Studio
- Open TikTok.com in your browser
- Sign in to your TikTok account
- Navigate to Creator Tools:
- Click your profile icon → "Creator Tools"
- Or go directly to: tiktok.com/live/studio
Generate Stream Key
- Click "Go Live" in TikTok Live Studio
- Fill in your stream details:
- Title: Create an engaging title
- Description: Add details about your content
- Privacy: Choose public or followers only
- Click "Start Live" (don't worry, this won't actually start your stream yet)
- Copy the Stream Key: You'll see a stream key - copy this immediately
- Keep it secure: This key is like a password for your stream
⚠️ Security Warning: Never share your stream key publicly. If compromised, regenerate it immediately.
Step 3: Configure OBS for TikTok Live
Basic OBS Settings
- Open OBS Studio
- Go to Settings (File → Settings or Ctrl/Cmd + ,)
- Configure these settings:
Stream Tab
- Service: Select "Custom"
- Server: Enter
rtmp://live-push.tiktok.com/live/ - Stream Key: Paste your TikTok stream key
Output Tab
- Output Mode: Advanced
- Encoder: x264 (software) or NVENC (NVIDIA GPU)
- Rate Control: CBR
- Bitrate: 2500-4000 Kbps (adjust based on your internet)
- Keyframe Interval: 2
- Preset: Veryfast (for x264) or Quality (for NVENC)
Video Tab
- Base Resolution: 1920x1080 (or your camera's native resolution)
- Output Resolution: 1920x1080
- Downscale Filter: Lanczos
- FPS: 30
Audio Tab
- Sample Rate: 48kHz
- Channels: Stereo
Test Your Settings
- Click "Start Streaming" in OBS
- Check TikTok Live Studio to see if your stream appears
- Monitor the status bar at the bottom of OBS for any errors
- Stop the test stream and make adjustments if needed
Step 4: Set Up Your Stream Sources
Add Your Camera
- Right-click in Sources panel → "Add" → "Video Capture Device"
- Name it: "Camera"
- Select your camera from the dropdown
- Configure settings:
- Resolution: 1920x1080 (if supported)
- FPS: 30
- Video Format: Default
Add Screen Capture (Optional)
- Right-click in Sources → "Add" → "Display Capture"
- Name it: "Screen"
- Select your monitor or specific application
- Position it in your scene as needed
Add Audio Sources
Add Microphone:
- Right-click in Sources → "Add" → "Audio Input Capture"
- Name it "Microphone"
- Select your microphone device
Add Desktop Audio (for system sounds):
- Right-click in Sources → "Add" → "Audio Output Capture"
- Name it "Desktop Audio"
- Select your default audio output
Create Multiple Scenes
Set up different scenes for different parts of your stream:
"Starting Soon" Scene:
- Add a background image or video
- Add text overlay with your stream title
"Main Stream" Scene:
- Camera + screen capture
- Any overlays or graphics
"Ending" Scene:
- Thank you message
- Social media links
Step 5: Add Professional Touches
Custom Overlays
- Create graphics in Canva, Photoshop, or similar
- Add as Image Source in OBS
- Position and resize as needed
- Set to "Fit to Screen" for responsive design
Stream Alerts
Set up alerts for when viewers join, follow, or send gifts:
- Install StreamElements or similar alert service
- Add Browser Source in OBS
- Enter your alert URL
- Set dimensions (typically 400x400 pixels)
Chat Integration
Display TikTok chat on your stream:
- Add Browser Source
- URL: Your TikTok Live Studio chat URL
- Position in a corner of your stream
- Set to "Refresh browser when scene becomes active"
Step 6: Go Live with OBS
Pre-Stream Checklist
- Test your internet speed (speedtest.net)
- Check all audio levels in OBS
- Verify camera and microphone are working
- Test your overlays and graphics
- Have your stream title ready
- Prepare your content or talking points
Starting Your Stream
- Open TikTok Live Studio in your browser
- Set up your stream details:
- Title
- Description
- Privacy settings
- Click "Start Live" in TikTok (this generates the stream key)
- Copy the new stream key and update OBS settings
- Click "Start Streaming" in OBS
- Wait 10-15 seconds for the stream to connect
- Check TikTok Live Studio to confirm you're live
During Your Stream
- Monitor OBS status bar for any issues
- Keep an eye on chat in TikTok Live Studio
- Use OBS hotkeys for scene switching
- Check your stream health in TikTok analytics
Ending Your Stream
- Click "Stop Streaming" in OBS
- Click "End Live" in TikTok Live Studio
- Save your recording if you enabled it in OBS
Troubleshooting Common Issues
Stream Won't Connect
| Issue | Solution |
|---|---|
| Invalid Stream Key | Regenerate key in TikTok Live Studio |
| Wrong Server URL | Use rtmp://live-push.tiktok.com/live/ |
| Firewall Blocking | Allow OBS through Windows Firewall |
| Internet Issues | Check upload speed and stability |
Poor Video Quality
- Lower bitrate to 2000-2500 Kbps
- Change encoder to x264 if using NVENC
- Reduce resolution to 1280x720
- Close other applications to free up CPU
Audio Problems
- Check audio levels in OBS mixer
- Verify device selection in audio sources
- Test microphone in Windows/Mac audio settings
- Disable audio filters temporarily
OBS Crashes
- Update OBS to latest version
- Update graphics drivers
- Reduce scene complexity
- Close unnecessary applications
Advanced OBS Features for TikTok Live
Stream Recording
Enable recording to save high-quality copies of your streams:
- Settings → Output → Recording
- Recording Path: Choose where to save files
- Recording Format: MP4 (recommended)
- Recording Quality: Same as stream or higher
Multiple Audio Tracks
Set up separate audio tracks for different purposes:
- Settings → Output → Recording
- Enable "Include audio tracks"
- Configure tracks for music, microphone, etc.
Stream Delay
Add a delay to prevent stream sniping:
- Settings → Stream
- Enable "Enable stream delay"
- Set delay to 2-5 seconds
Custom Hotkeys
Set up keyboard shortcuts for common actions:
- Settings → Hotkeys
- Assign keys for scene switching, muting, etc.
Pro Tips for TikTok Live with OBS
Performance Optimization
- Use Game Mode on Windows for better performance
- Set OBS process priority to "High" in Task Manager
- Use hardware encoding (NVENC/QuickSync) when possible
- Keep OBS updated for latest optimizations
Content Ideas
- Screen sharing tutorials or software demos
- Multi-camera setups for different angles
- Picture-in-picture layouts for reactions
- Custom transitions between scenes
- Live editing or creative processes
Engagement Strategies
- Display viewer count as an overlay
- Show recent comments on screen
- Create interactive polls with graphics
- Use custom alerts for gifts and follows
- Add branded elements to build recognition
Next Steps
Now that you have OBS set up for TikTok Live, consider exploring:
- Stream overlays and graphics design
- Advanced audio mixing and effects
- Multi-platform streaming (TikTok + YouTube)
- Stream analytics and optimization
- Community building strategies
Resources
- OBS Official Documentation
- TikTok Live Studio Help
- Stream Elements for alerts and overlays
- Canva for creating stream graphics
Ready to take your TikTok Live streams to the next level? With OBS Studio, you'll have professional-quality streams that stand out from the crowd.
Happy streaming! 🎥
Have questions about OBS setup or TikTok Live streaming? Drop a comment below or reach out on social media!